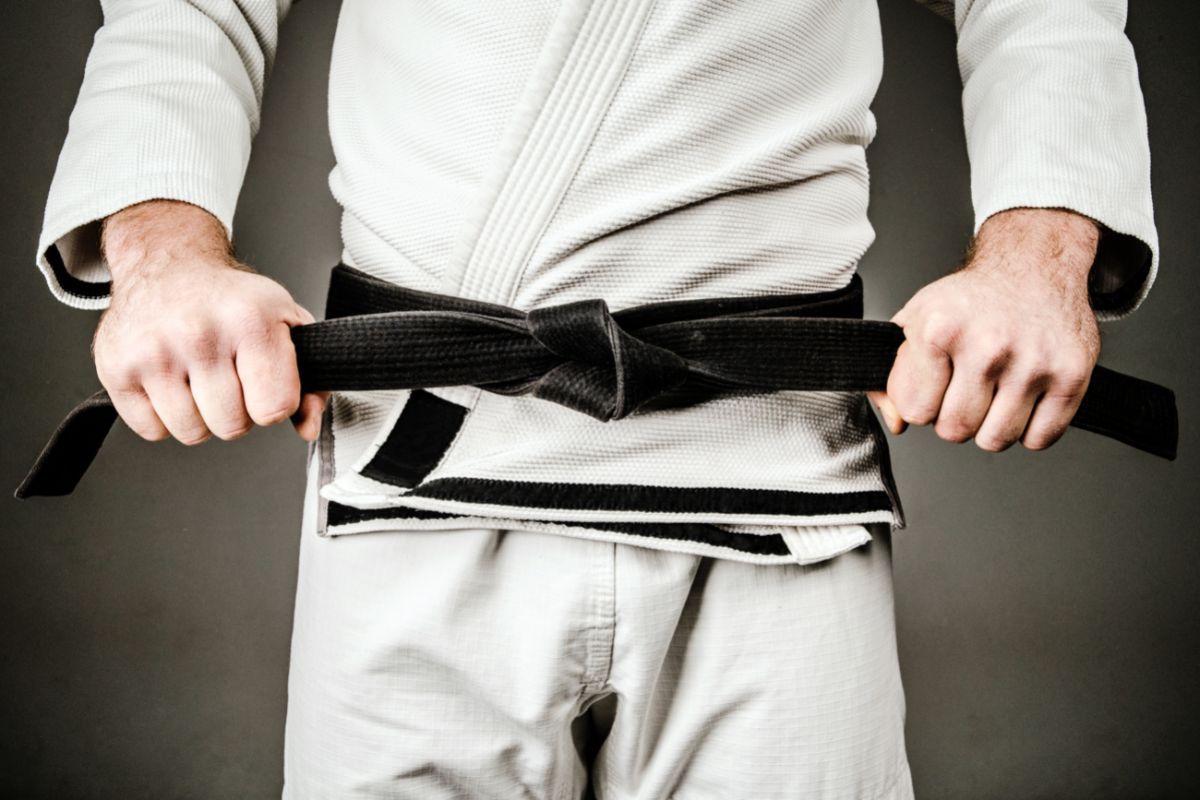
How To Tie Your GI Belt In 3 Steps, With 4 Great Options
The BJJ belt system was originally created by Dr. Jigaro Kano, who also invented Judo. It was designed to grade students. Over time, other martial arts adopted the belt system and it became a standard practice.
Today, the BJJ belt system is still used in many forms of martial arts. However, it differs from other systems because of its origins.
The ancient ancient ranking system originally had no other purpose than keeping the kimono in position.
In the early days, martial arts were practiced by most families and were mostly learnt for self defense purpsoes and used to protect oneself.
As time passed, more and more people started to practice martial arts. Eventually, martial arts became mainstream and many people started to learn them for fun as well as competitive reasons.
Nowadays the belts are used to identify how proficient you are in the craft.
Steps And Meanings
Step 1
The first step of tying a belt is to make sure that it hangs evenly from the center.
This act symbolizes the importance of balance – spiritual, technical and physical – but also that excellence of karate can only be achieved when practical training is balanced with theoretical study.
This concept is called bun bu ryo do. Western philosophers refer to it as the pen and the sword.
Step 2
Now that you’ve wrapped the belt around yourself, the next step is putting the buckle in place. This is done by putting the middle of the belt above your navel.
By putting the belt above your umbilical, the belt reminds you that the proper practice of karate empowers you with the ability to give, receive and terminate life.
Therefore, we should uphold the moral values that make up who we are as karate practitioners.
When crossing the belt, we are reminded to prepare ourselves for those who may cross us behind our backs and to be prepared for them when they do. We should also be aware of what goes on under our noses as well.
Step 3
The karate-ka should be reminded of the importance of constantly improving himself. He must strive to become better than he was before.
He must tighten his resolve and fortify his spirit. In order to do this, he must tie his ends together evenly. Karate is not about perfecting your moves, but striving for perfection. Always strive for it! That’s the Spirit of Karate.
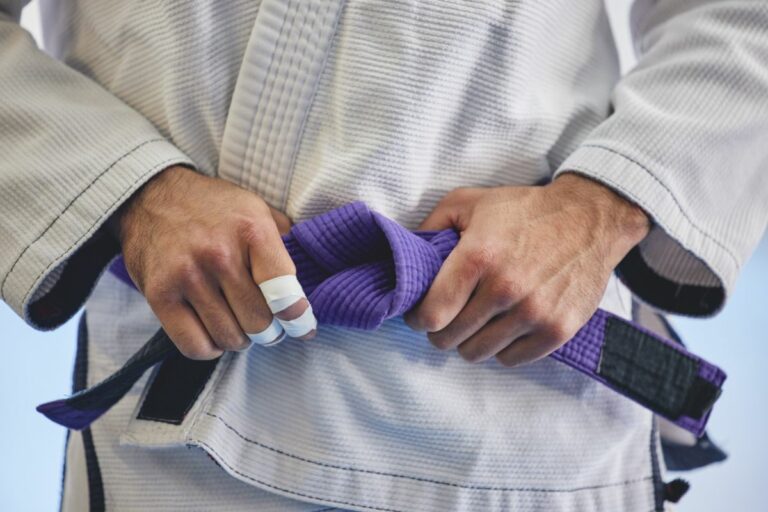
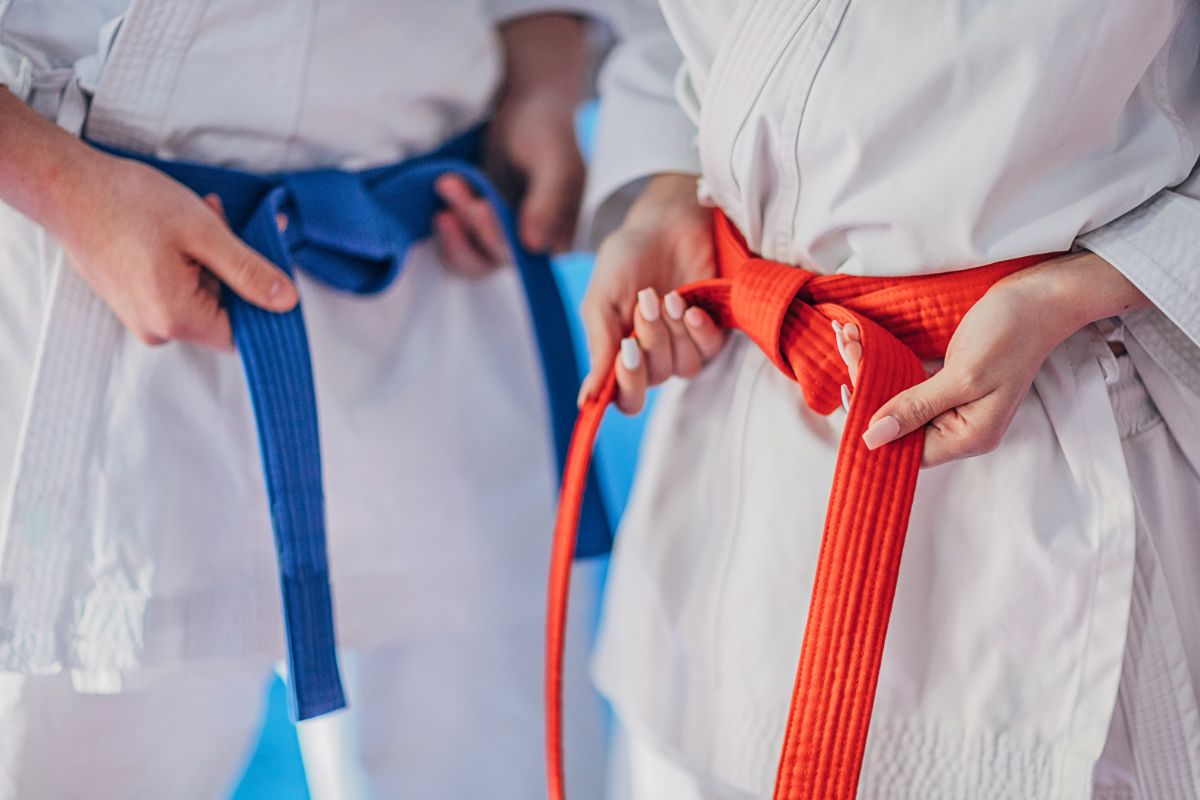
As we’ve discovered a Brazilian Jiu Jitsu Belt should be tied in a certain manner to show your level of expertise in the sport.
You must know the correct way to tie your belt before attempting to do it for the first time. The rest of this article explains several different methods of tying your belt in Brazilian Jiu-Jitsu.
Basic
The first way of tying a belt is pretty basic. Most people use this method, especially those who have no previous martial arts training. Firstly, find the half-points of the belt.
These points are then placed under the naval and the ends are passed around behind. Once behind the rear, both ends are crossed over each other and then looped over themselves. Simple!
BJJ Way
The BJJ method starts identically to the basic method of tying. It is how Judoka used to tie their belts originally.
The difference comes when the left side is crossed under the right and pulled up, forming a loop for the bottom end to come through.
Then the right side is pulled through the first layer of belt toward the left, although still not tight enough. When tightened securely, the result is the most secure knot available in Brazilian Jiu-Jitsu. Competitors prefer this knot as it’s the hardest one to undo.
This knot is quick and simple to tie but it takes some time to master Once perfected, it is super useful in competitions.
Karate Way
People who practice Karate in martial arts have a unique way of tying belts. Their belt is tied in a different way than those who follow the Gracie style. (below). The belt is held at the hips by the left and right hand.
The belt is passed over the body, starting at the left shoulder and ending at the left hip. Then the belt passes underneath the left arm, and finally goes under the left leg.
When done correctly, this forms a single loop at the front. The belt is then pulled tight and knotted. This produces a very neat and tidy knot that is ascetically pleasing for those who view that as important during practice.
Gracie Style
In the Gracie style, the belt is tied around the waist, then pulled back through the loops. This method is secure because it does not leave any slack or space for an attacker to insert a weapon into.
This method is rarely used today, as it makes the wearer appear clumsy despite being very effective.
Unbreakable
There is a special knot that is considered unbreakable. Basically, it’s a regular, granny knot and you come back with a following through and the belt gets a shape that is virtually impossible to break.
First you’re tying a granny knot at the last part of a belt and you cross around your waist using the other end bringing both the ends together in front of yourself.
Basically you’re tying a water knot and then changing the belt few times but it’s a really secure knot to hold your Gi and it 100% won’t slip.
Tips
When tying the belt around your waist, make sure the buckle is facing forward. You want to be able to see what you’re doing while you’re tightening the belt.
Once you’ve tightened it, check to make sure the buckle is still facing forward. If it isn’t, turn it around.
You should also make sure there aren’t any loose threads or anything else that could get caught up.
With such a long rope, it is easy to tie knots that make it difficult to untie yourself when needed. You must always remember to take care of your own safety and tie knots appropriately.
Buying A Belt
In terms of Jiu-Jitsu gis, there are many different types available. Some are made of cotton while others are made of synthetic material. You can also purchase belts made of leather while some cheaper styles are made of polyester.
Some can be stitched by hand depending on your sewing skills while others are machine sewn. Some are cheaper than others but still provide great value for money.
In Summary
With practice it’s possible to tie a knot that is secure and suits your particular style of play.

![[EXPLAINED] What Is Jiu-Jitsu? | The Best Martial Art](https://mmaboxx.com/wp-content/uploads/2022/06/EXPLAINED-What-Is-Jiu-Jitsu-768x512.jpg)